 KIRAN GOES PLACES
Puerto Natales flights
seasonal, ~October-April
Punta Arenas
3-3.5 hrs further from the park
East-side campsites
run by Las Torres
West-side campsites
run by Vertice
Full agency booking
~1.5x self-booking cost
1. Fly into Puerto Natales if you can
There are three realistic entry points. Puerto Natales is the closest town to the park and by far the most convenient, with seasonal flights running roughly October to April, mostly domestic ones. We flew in from Santiago. Punta Arenas is bigger and has more flight options, but it's three to three and a half hours further from the park, so you'll still end up backtracking to Puerto Natales anyway. The third option is crossing overland from El Calafate in Argentina if you're doing Patagonia hikes on that side first, which works but adds a border crossing into the mix.
2. Decide your direction before you get attached to a plan
You can hike the W east to west or west to east. Go east first and you tackle the hardest section, the climb to the base of the towers, in your first 24 hours, then build down from there. Go west first and the towers become the climax at the end. There's no wrong answer, but be aware your hand might get forced anyway. We wanted west to east and could only get campsite reservations going the other way for our dates. Having done it east to west, I'd actually choose it again given the choice, we got to see the towers twice and finished with an ice hike on the Grey Glacier.
3. Getting to the actual trailhead means a bus, and maybe a boat
From Puerto Natales, if you're starting in the east, it's a bus to Laguna Amarga, then a private shuttle (cash only) to the welcome centre near Hotel Las Torres, which is where the trail actually begins. If you're starting in the west, add a boat to that. Bus to a place called Pudeto, then a catamaran across Lake Pehoé to Paine Grande. It sounds complicated on paper but the catamarans time themselves around the bus arrivals, so you're never left waiting around. Book the catamaran online in advance during high season so it doesn't sell out.
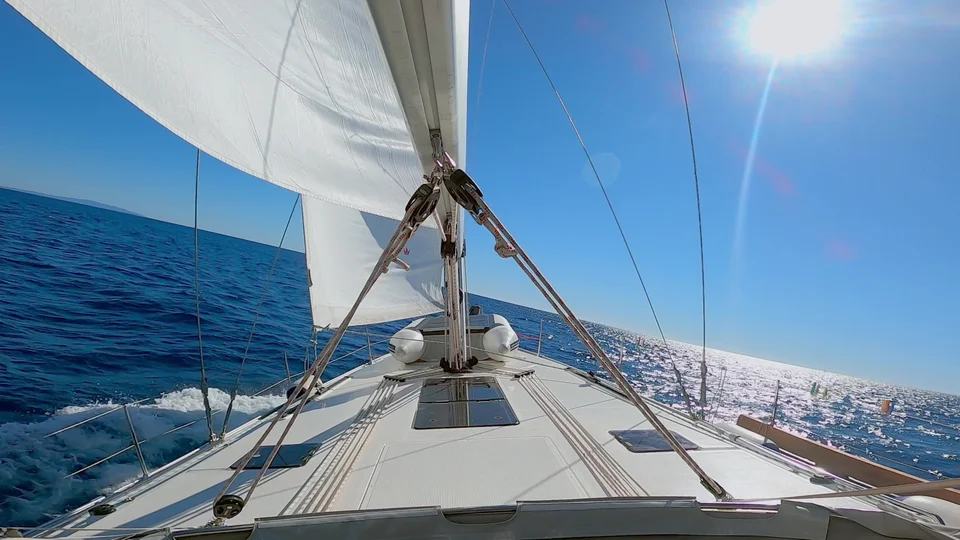
The catamaran across Lake Pehoé, timed to meet the morning buses.
4. There's a lesser known third way in
I didn't find this out until pretty late in the planning, but you can also get in and out via Hotel Lago Grey, taking the same bus company there and then a tourist boat called Navigation Grey, which normally does a there and back tour to see the Grey Glacier up close. You can jump off one way at Camp Grey instead and start or end your trek from there. It costs more, but you get a free pisco sour on board and a close look at the glacier, and it's one of the better ways to avoid backtracking if you only want to do a 3 day version of the trek.
5. Book campsites months ahead, and understand there are two companies
Refugio beds and tent space are genuinely limited, and you cannot wild camp inside the park. If your accommodation isn't confirmed, they can turn you away at the entrance. The confusing part is that the campsites are split between two separate companies, Las Torres, who run Camping Frances, Camping Central and Chileno on the east side, and Vertice, who run Paine Grande and Camp Grey. Agencies will book your whole route for you, but they charge roughly one and a half times what it costs to do it yourself, and it really isn't that complicated once you understand the split.
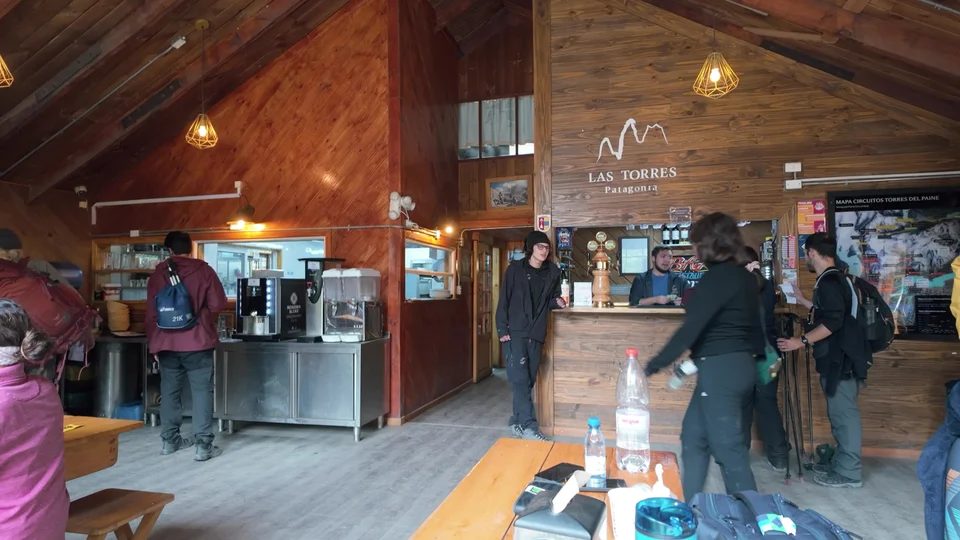
Las Torres run the campsites on the east side of the park, Vertice runs the west.
6. Map your whole route before booking a single night
Once you book one campsite with one company, you can't change it to line up with the other, so check every night's availability across your full route before committing to any of it. Going west to east, a typical route is Grey (or Paine Grande if Grey's full), then Frances or Cuernos, then Chileno, then out. Going east to west, it's Central or Chileno, then Frances or Cuernos, then Paine Grande, then Grey. My advice is to check Chileno's availability first if you want the sunrise hike, then build the rest of the route around whichever dates it's actually free.
7. Pack for four seasons in a single day
Torres del Paine is famous for throwing every kind of weather at you within a few hours. The non negotiables are a waterproof jacket and trousers, a warm mid layer like a fleece or down jacket, hat and gloves, and strong sun protection since the ozone layer is thinner this far south and you burn faster than you'd expect. Waterproof boots matter more than people think too, you end up wading through actual streams on the trail, not just puddles. A refillable water bottle is enough on its own, since you can fill up from glacier meltwater almost everywhere.
8. You can hire almost everything else
Tents, sleeping bags, roll mats, pillows and even food are all available to hire or buy from most of the campsites if you'd rather not carry it all in. That takes a lot of pressure off your packing list, the essentials above are really the only things you need to have sorted before you land.
9. Think about adding the ice hike separately
If you want to actually walk on the Grey Glacier rather than just look at it, that's a separate booking through a company called Bigfoot, who run the ice hikes and ice kayaking trips out of their base camp near Camp Grey. It's completely independent of your trekking permits and campsite bookings, and numbers are genuinely limited, so plan it in advance if it's something you want to do. It was one of the best few hours of the whole trip for me.
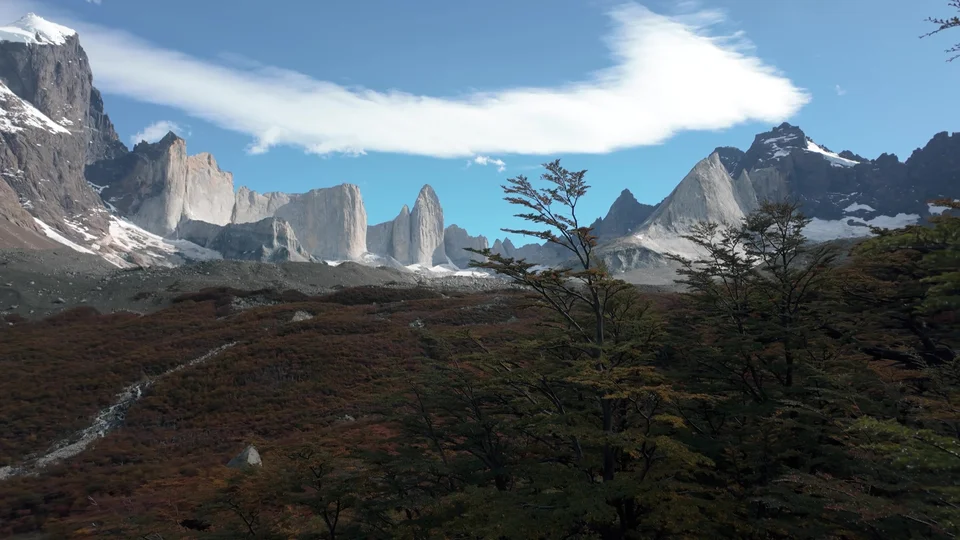
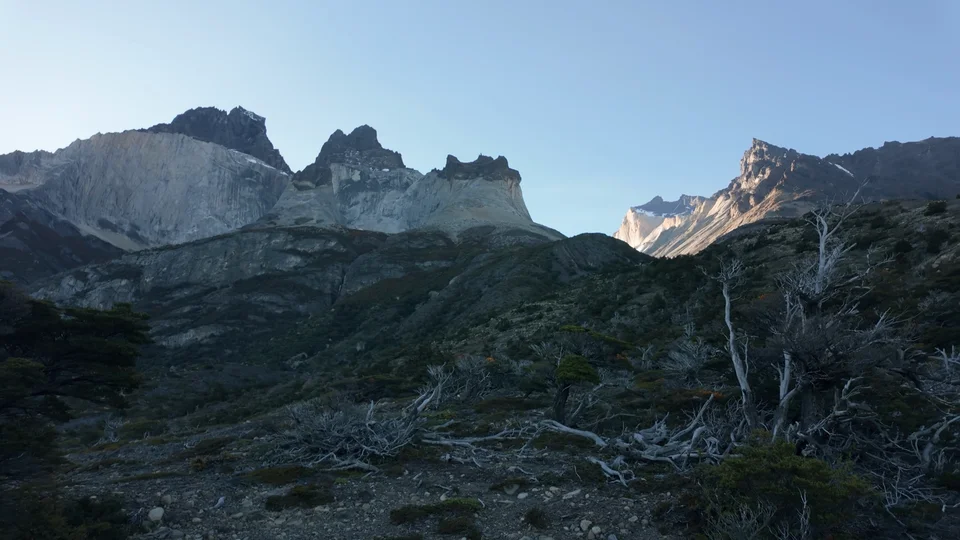
The granite towers from further along the trail, autumn colour just starting to turn.
10. Save a little energy for the highlights
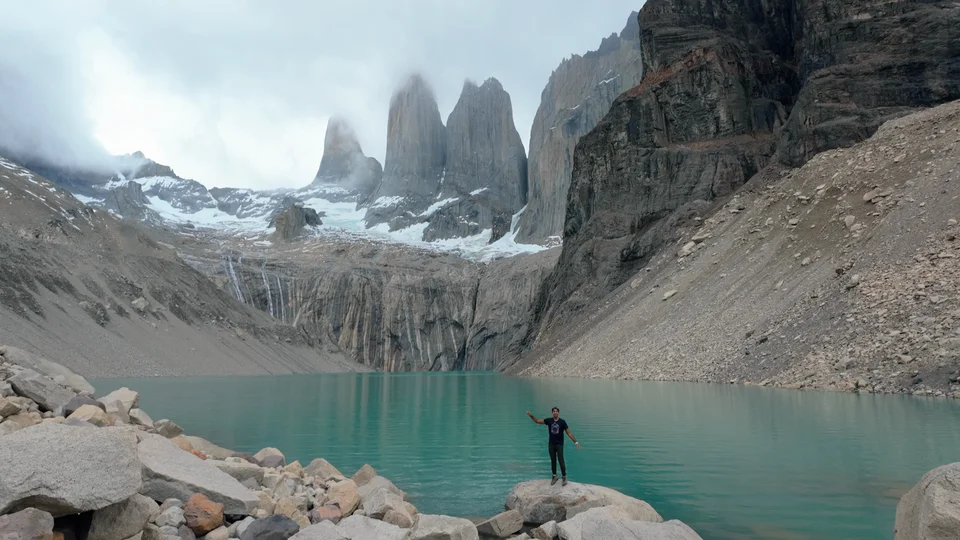
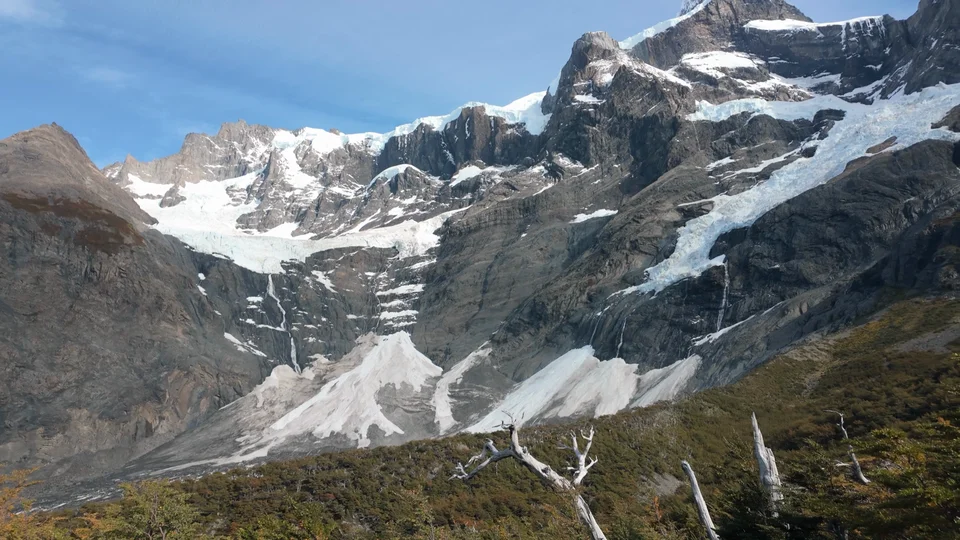
After all the logistics, it's easy to forget what you're actually there for. Sunrise at the base of the towers is as iconic as the photos suggest, the light hits those granite spires in a way that just feels like true Patagonia. The French Valley, specifically the English lookout, gave us a full panorama of autumn forest below granite cliffs that I wasn't expecting to hit that hard. And the Grey Glacier itself, whether you do the ice hike or just walk out to see it, is genuinely massive up close in a way photos undersell.
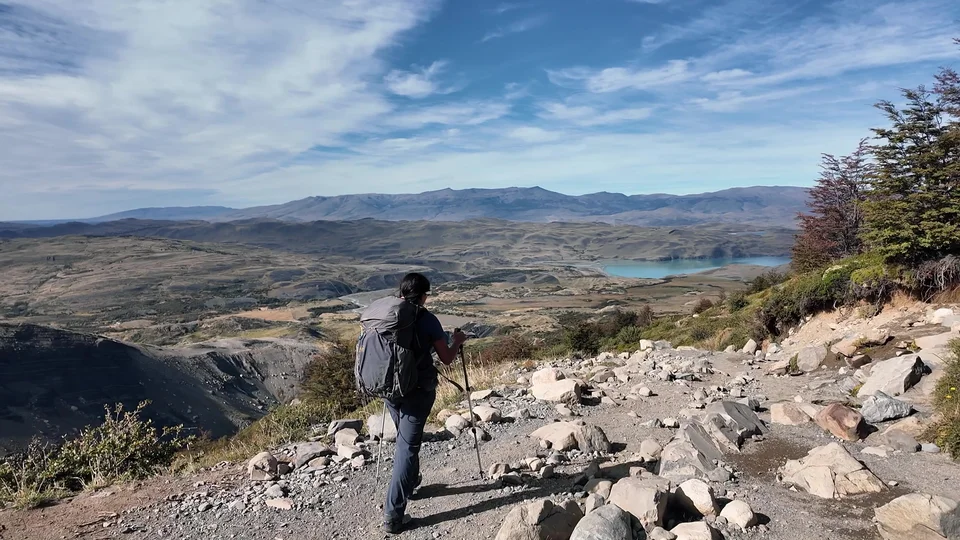
It's logistically a headache, but the trail itself does all the work for you.
It's a fully doable trek without much technical difficulty or serious altitude, the days are just long. The booking system is the only genuinely hard part, and once you've got your head around the two companies and the route sequencing, you're set up for one of the best multi day hikes anywhere in the world. I've also written up our full four day route if you want to see how it actually played out on the ground.